|
|
Post by neelthompson on Dec 2, 2015 6:31:07 GMT -5
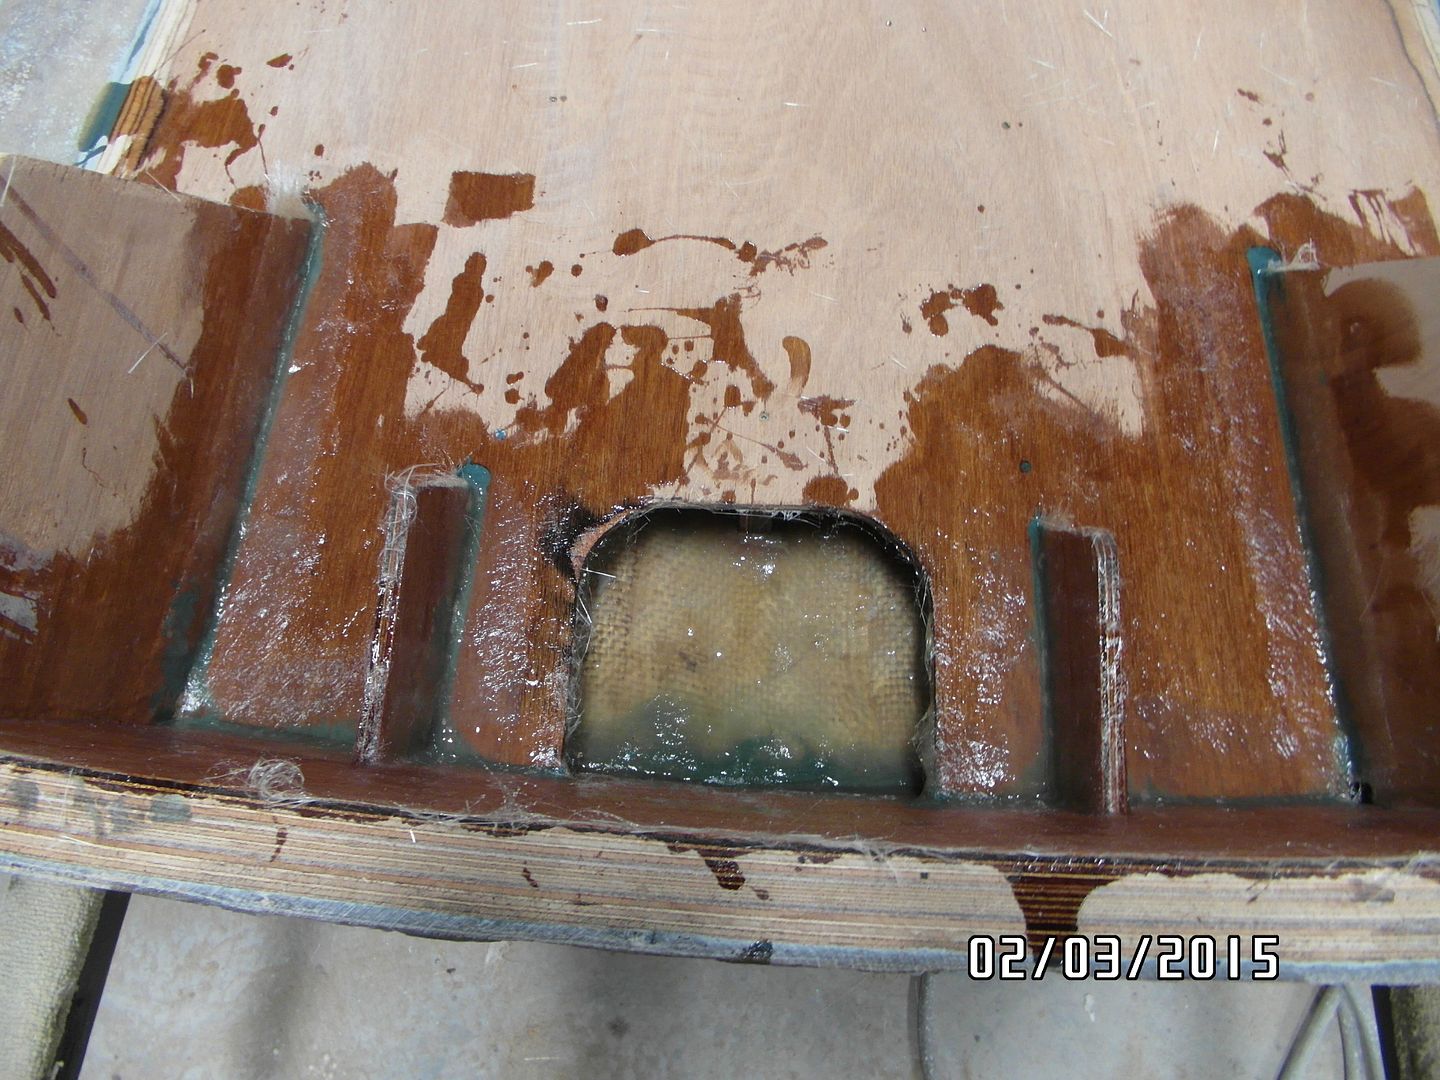
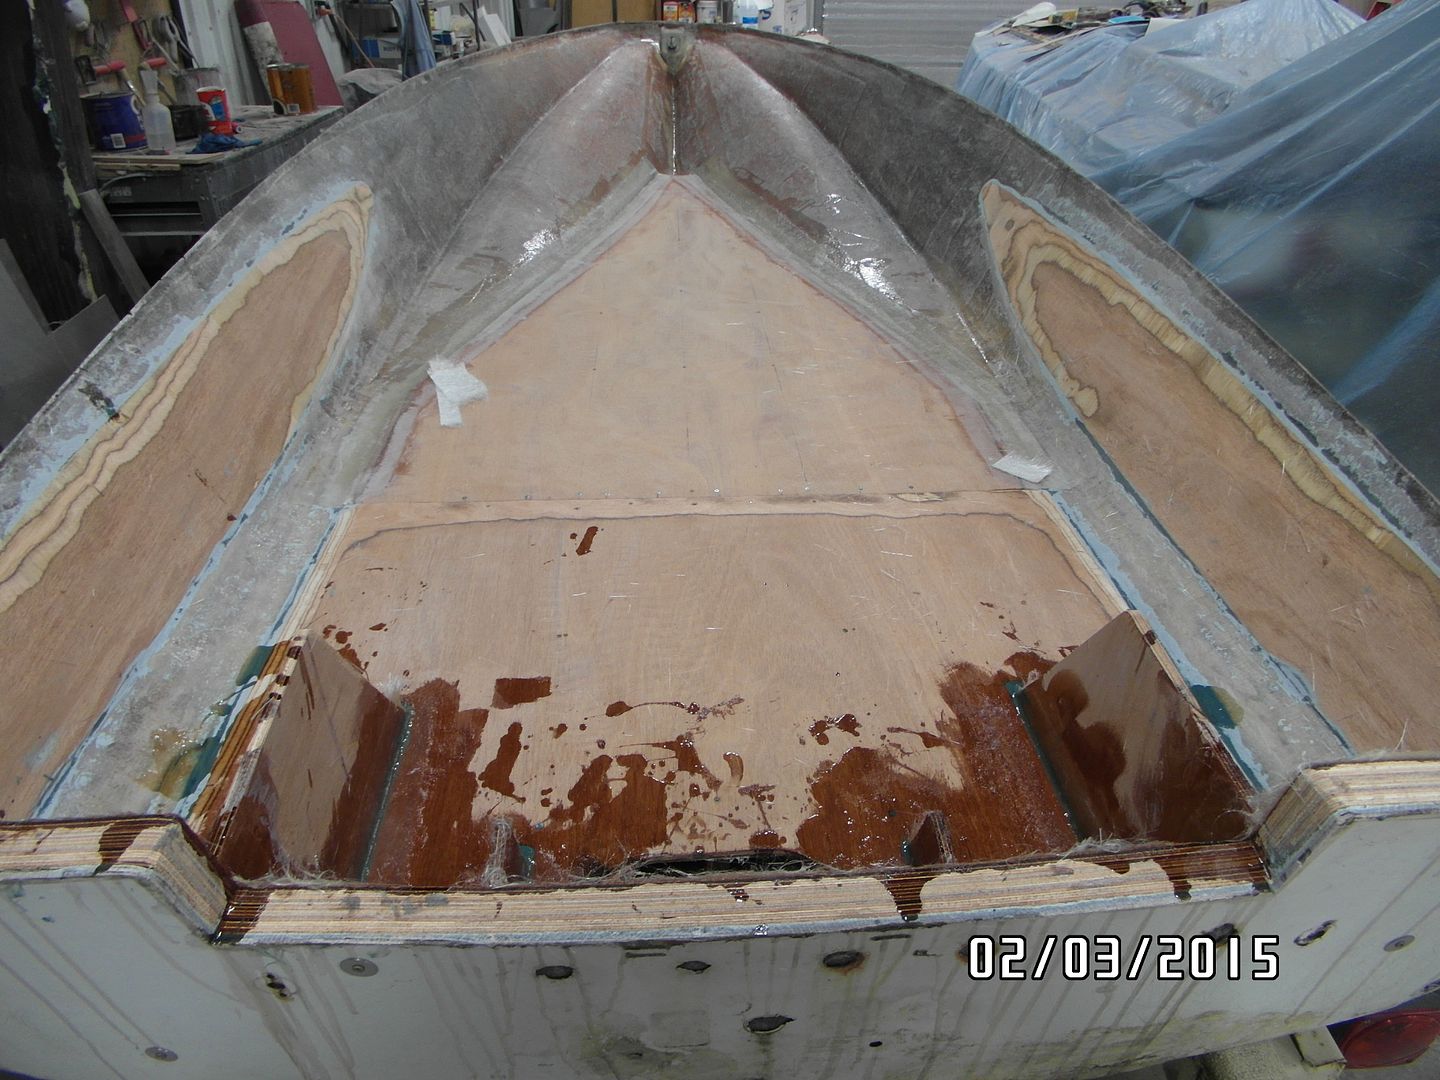
My name is Neel Thompson and I am new to this forum. I bought a beat up G3 from Steve K in Vermont in October with the intention of restoring it for, and with, my grandson Andrew. I built a mahogany inboard boat a few years ago and I must say this restoration is every bit as challenging. I live near Philadelphia and Andrew lives in Minneapolis. He plans to come east to work with me on the project during Christmas and again in June/July. I am trying to get the dirty work out of the way before he gets here. So far I have replaced the transom, all wood on the underside of the top deck, and replaced the floor stringers. I will try to post a few pictures here, but since I am new here, not sure how it will work. I really am looking forward to hearing comments and suggestions along the way from the experts here on the forum. I did try to attach pictures, but I think the pixels are too high. I will work on that.....All Take Care,,,,, Neel
|
|
|
|
Post by Bandit on Dec 2, 2015 18:52:11 GMT -5
Hi Neel, Welcome to the forum! We are here to help for sure. I restored my boat (Bandit) in 2011, it was a bit of work for sure, but I am very proud of it... and the Popeye arms I developed from all the sanding! One thing to look for when you start working on the bottom is get a straight edge on the last 2-3 feet of the hull. Many of these boats formed a "rocker" or a "hook" in the hull just ahead of the transom. My boat was a "rocker" and I ended up filling about the final foot of bottom. I also had dents that formed in the keel from years of sitting on the trailer rollers, filled those too. As you probably imagine, that you want the final 2-3 feet perfectly flat to the edge of the transom. Attachment DeletedAs far as your photos, they need to be less than 1 MB in size, and use the "Add Attachment" button (the image button is to link to a photo URL that is already on the web). Again, welcome! Dean Attachment DeletedAttachment Deleted |
|
|
|
Post by neelthompson on Dec 3, 2015 7:21:04 GMT -5
Thanks for the info Dean. I do plan on spending some time on the bottom to make sure it is straight and true. My picture files are simply too big. I have to find a way to make them smaller. There has to be a way!!! Your restoration is something to be proud of, for sure. I hope some day to be able to meet you and see your boat in person... Neel
|
|
|
|
Post by neelthompson on Dec 12, 2015 16:07:10 GMT -5
Well I think I figured out how to reduce the size of my pictures, so I will post a few now. I actually have just finished fiberglassing the new floor and sponson cover boards.
|
|
|
|
Post by neelthompson on Dec 12, 2015 16:09:01 GMT -5
Those pics were taken near the end of October. Here is what it looks like now
|
|
|
|
Post by neelthompson on Dec 13, 2015 12:01:53 GMT -5
Here are a few pictures of the underside of the deck with new wood.
|
|
|
|
Post by ronny on Dec 14, 2015 18:32:31 GMT -5
Very nice work and shop keep the pics coming
Ronny
|
|
|
|
Post by Bandit on Dec 19, 2015 0:20:41 GMT -5
Hey Neel,
Progress looks great! Great detail on the transom... I am delighted to see that you're using 5 layers of 3/8" on the transom. I did the same on Bandit.
As some would know: (for the uninformed reader) the stock transom was 4 laminated layers of 3/8" plywood totaling 1.5". What Neel (and others) is doing is creating a much stronger transom of 5 layers totaling 1.875". When you add the thickness of the fiberglass transom shell its more than 2" thick vs. the stock 1-5/8" thickness. Good idea when you are installing more than the stock rated power of 60 hp.
You've done some serious work on the deck too. It looks like great work from what I can see from the photos. Any plans to refinish the rub-rail aluminum? I notice you haven't removed the aluminum from the deck.
Dean
|
|
|
|
Post by neelthompson on Dec 19, 2015 7:32:10 GMT -5
Since the last post, I have finished the floor and sponson cover boards and glassed both. The necessary repairs have been made to the interior of the hull and I have put on two coats of primer. I had the deck hoisted up to the ceiling in the garage and I dropped that back down yesterday to begin the body work on it. I thought removing the rub rail would be a piece of cake, but it turned out to be a real project. At some point, the aft sections of both rails had been put down with 5200 or something just as strong. It took a long time to get it off. Before removing it I sanded and polished the underside of the rails since the deck was upside down. I will be flipping the deck over today to begin filling all of the holes and getting it ready for paint.
|
|
|
|
Post by neelthompson on Dec 19, 2015 7:33:42 GMT -5
A few more pictures
|
|
|
|
Post by ronny on Dec 20, 2015 22:09:56 GMT -5
Hey Neel, Progress looks great! Great detail on the transom... I am delighted to see that you're using 5 layers of 3/8" on the transom. I did the same on Bandit. As some would know: (for the uninformed reader) the stock transom was 4 laminated layers of 3/8" plywood totaling 1.5". What Neel (and others) is doing is creating a much stronger transom of 5 layers totaling 1.875". When you add the thickness of the fiberglass transom shell its more than 2" thick vs. the stock 1-5/8" thickness. Good idea when you are installing more than the stock rated power of 60 hp. You've done some serious work on the deck too. It looks like great work from what I can see from the photos. Any plans to refinish the rub-rail aluminum? I notice you haven't removed the aluminum from the deck. Dean We did ours a little different but the same 2 inch thick  |
|
|
|
Post by ronny on Dec 20, 2015 22:11:37 GMT -5
Click on the photo to see more  |
|
|
|
Post by neelthompson on Jan 5, 2016 15:18:17 GMT -5
My Grandson Andrew came in town for Christmas and we worked on filling all holes in the deck. The larger ones we filled with fiberglass mat, epoxy resin, and then epoxy thickened with fairing filler. a lot of sanding has been done and a lot to go. When I get back from Florida in March, I will flip the hull and do the body work on that. I am having a 90 HP Evinrude V4 rebuilt for me. It does have trim and tilt. That should move Andrew right along....
|
|
|
|
Post by neelthompson on Jan 5, 2016 15:21:30 GMT -5
We also cut the motor/splash well by about four inches in depth and about two inches in length. We made a new floor for it and glassed it in. I set the deck on the hull just to see how everything matched up. Not too bad, but I can see some work ahead in this area...
|
|
|
|
Post by Bandit on Jan 8, 2016 21:56:34 GMT -5
Hey Neel,
Looking good!
A 90 hp V4 motor will be a fine motor for your boat.
Are you going to glass in the 1x? strip on the floor that the center deck support connects too?
I made mine too tall, which makes it a bit tight slipping the fuel tank into place. Something to think about.
Dean
|
|